






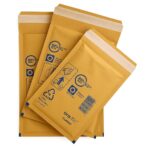
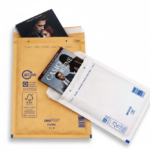
 Bubble Envelopes
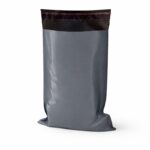 Mailing Bags
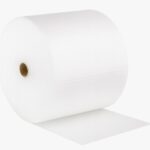
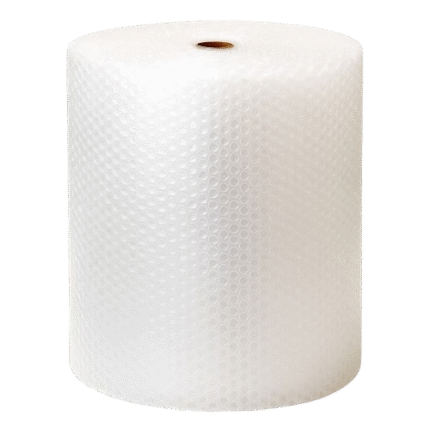
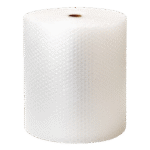 Bubble Wrap Rolls
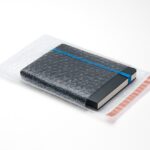 Bubble Wrap Bags
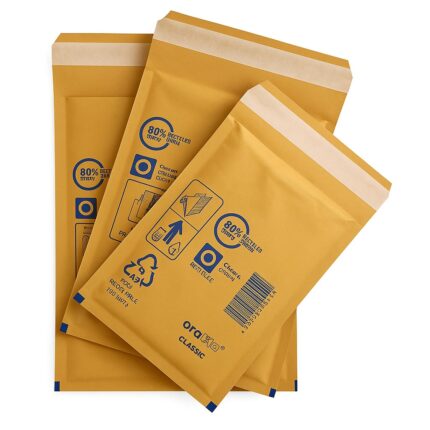
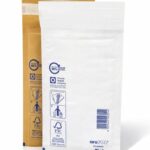 Bubble Envelopes
 ECOFLO Loose Fill Packing Peanuts
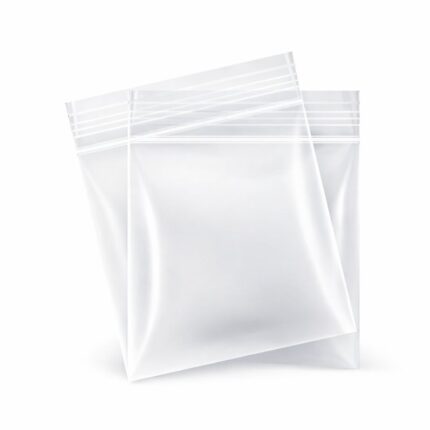
 Grip seal bags
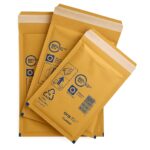 Arofol Bubble Bags
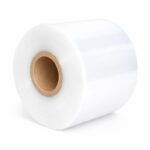
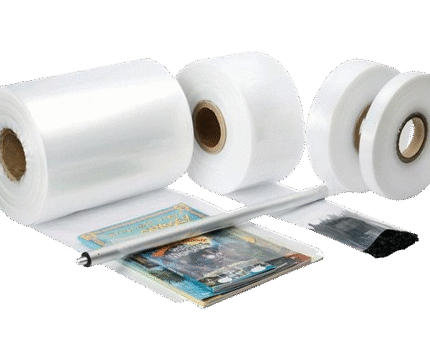
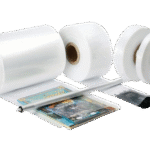 Layflat Tubing Heavy duty
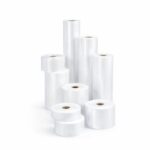 Layflat Tubing Medium duty

10% OFF FIRST ORDER
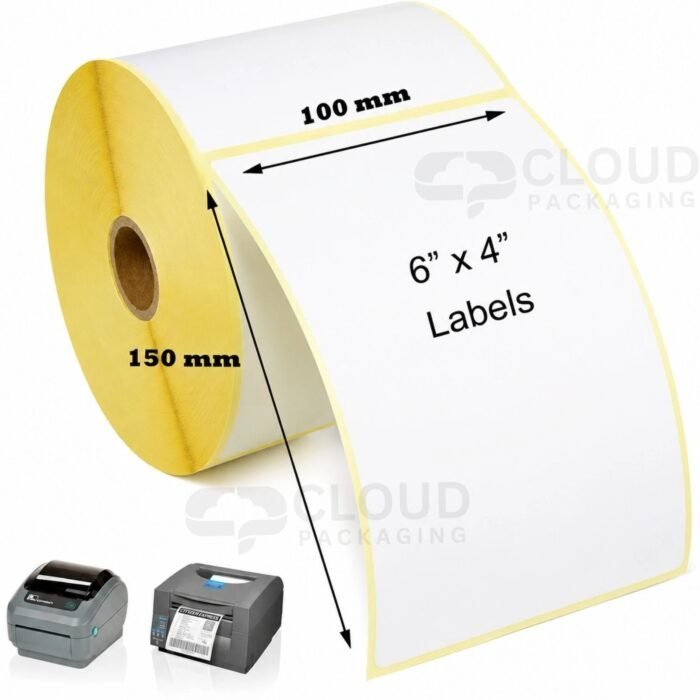
Thermal Label Rolls
Direct thermal label rolls designed for fast, ink-free printing on shipping, barcode and warehouse labels.
500 labels per roll
25mm core size
White label colour for crisp, clear printing
Yellow liner (backing) colour
No ink, toner or ribbon required labels print directly from heat
£39.24 ex. VAT
EXTRA SAVINGS
CLOUD10
First-order offer. Terms and eligibility apply.
Related posts
Buy Grey Mailing Bags in Bulk in the UK: Sizes, Costs and How to Choose a Supplier
Buying mailing bags in bulk can help ecommerce businesses control packaging costs, speed up order fu...
Buy Biodegradable Packing Peanuts in the UK: A Buyer’s Guide
Compare compostable packing peanuts and biodegradable loose fill by bag size, protection, quantity pricing and business packing needs.
Buy 4×6 Thermal Label Rolls in the UK: A Buyer’s Guide
If your business sends parcels every day, choosing the right 4×6 thermal label rolls can make dispat...
Returns-Friendly Packaging: A Practical Guide for UK Ecommerce Sellers
Many online orders make two journeys: from your business to the customer, and sometimes back again. ...
How to Pack Electronics for Shipping in the UK
Electronics need protection from more than the bumps and drops a parcel can experience. A device can...
How to Pack Clothes for Shipping in the UK: A Practical Guide
Clothing is one of the easier products to ship, but that does not mean it can simply be folded and t...
How to Pack Shoes for Shipping in the UK: A Practical Guide
Shipping shoes sounds straightforward, but footwear needs more protection than its shape might sugge...
What Is a Packing Slip? A UK Ecommerce Guide
Learn what a packing slip is, what to include, how it differs from a shipping label and invoice, and how UK ecommerce sellers can use it to check orders.
How to Store Packaging Supplies: A Practical Guide for UK Businesses
Packaging supplies can be easy to overlook once they have been delivered. A roll of bubble wrap gets...
How to Calculate How Much Packaging You Need for Your Orders
Learn how to estimate packaging quantities for ecommerce orders using order volume, packaging per order, safety stock and realistic usage.
How to Stop Packages Moving Inside a Box During Delivery
Learn how to stop products moving inside shipping boxes with the right box size, cushioning, void filling and packing technique.
What Size Shipping Label Do I Need? 4 x 6 vs A4 Labels Explained
Not sure whether you need 4 x 6 or A4 shipping labels? Compare label sizes, printers and UK postage workflows before choosing your next shipping labels.